

 Topiry



Best Video Editing Software for YouTube Content Creators
Best Video Editing Software for YouTube Content Creators
YouTube editing has its own set of demands that don’t always match traditional filmmaking or corporate video work. Creators need fast turnaround times, efficient multi-cam workflows for talking-head content, punchy pacing tools like jump-cut automation, and export settings optimized specifically for YouTube’s compression algorithm. Choosing the right software can be the difference between publishing consistently and burning out trying to keep up with an upload schedule.
This guide walks through the best editing software options for YouTube creators at every stage — from brand-new channels to established creators with a full production workflow — along with practical tips for speeding up your editing process.
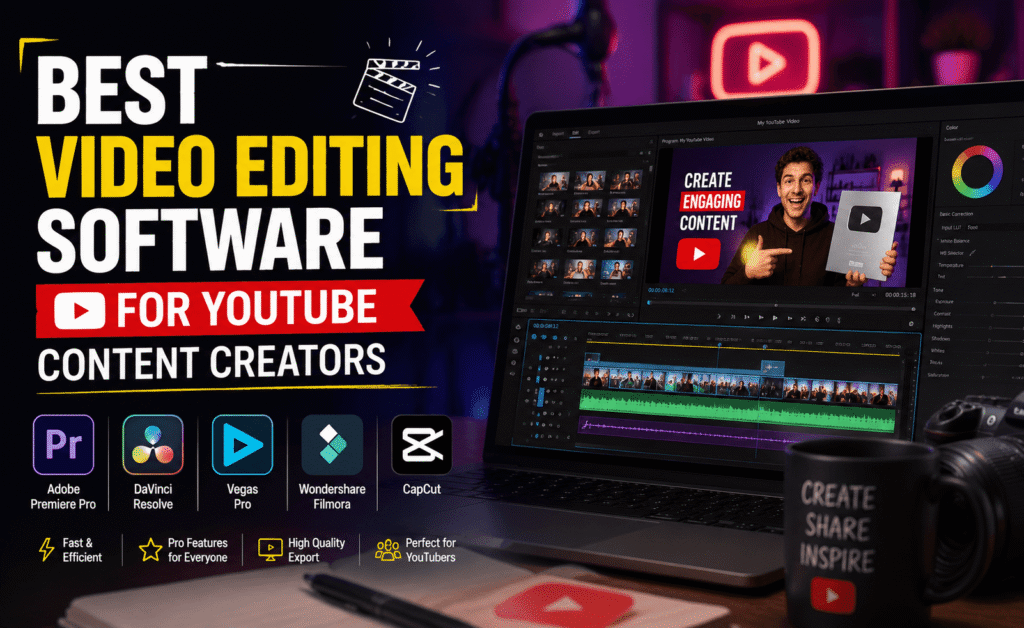
What YouTube Creators Actually Need From Editing Software
Unlike film or broadcast editing, YouTube content is typically produced under tighter deadlines and often by a single person handling every stage of production. That changes what matters most in a piece of software.
- Speed of workflow: Keyboard shortcuts, efficient trimming tools, and features like silence detection can save hours per video.
- Multi-cam support: Many creators film with two or more angles (main camera, screen recording, B-roll) and need to sync and switch between them easily.
- Built-in captions: With so much content watched muted, fast and accurate captioning tools are close to essential now.
- Thumbnail-friendly export: Some editors integrate directly with photo editing tools or offer frame-grab features for quick thumbnail creation.
- Reliable rendering and export presets: Software with YouTube-specific export presets removes the guesswork around bitrate and resolution settings.
Top Picks for YouTube Editing
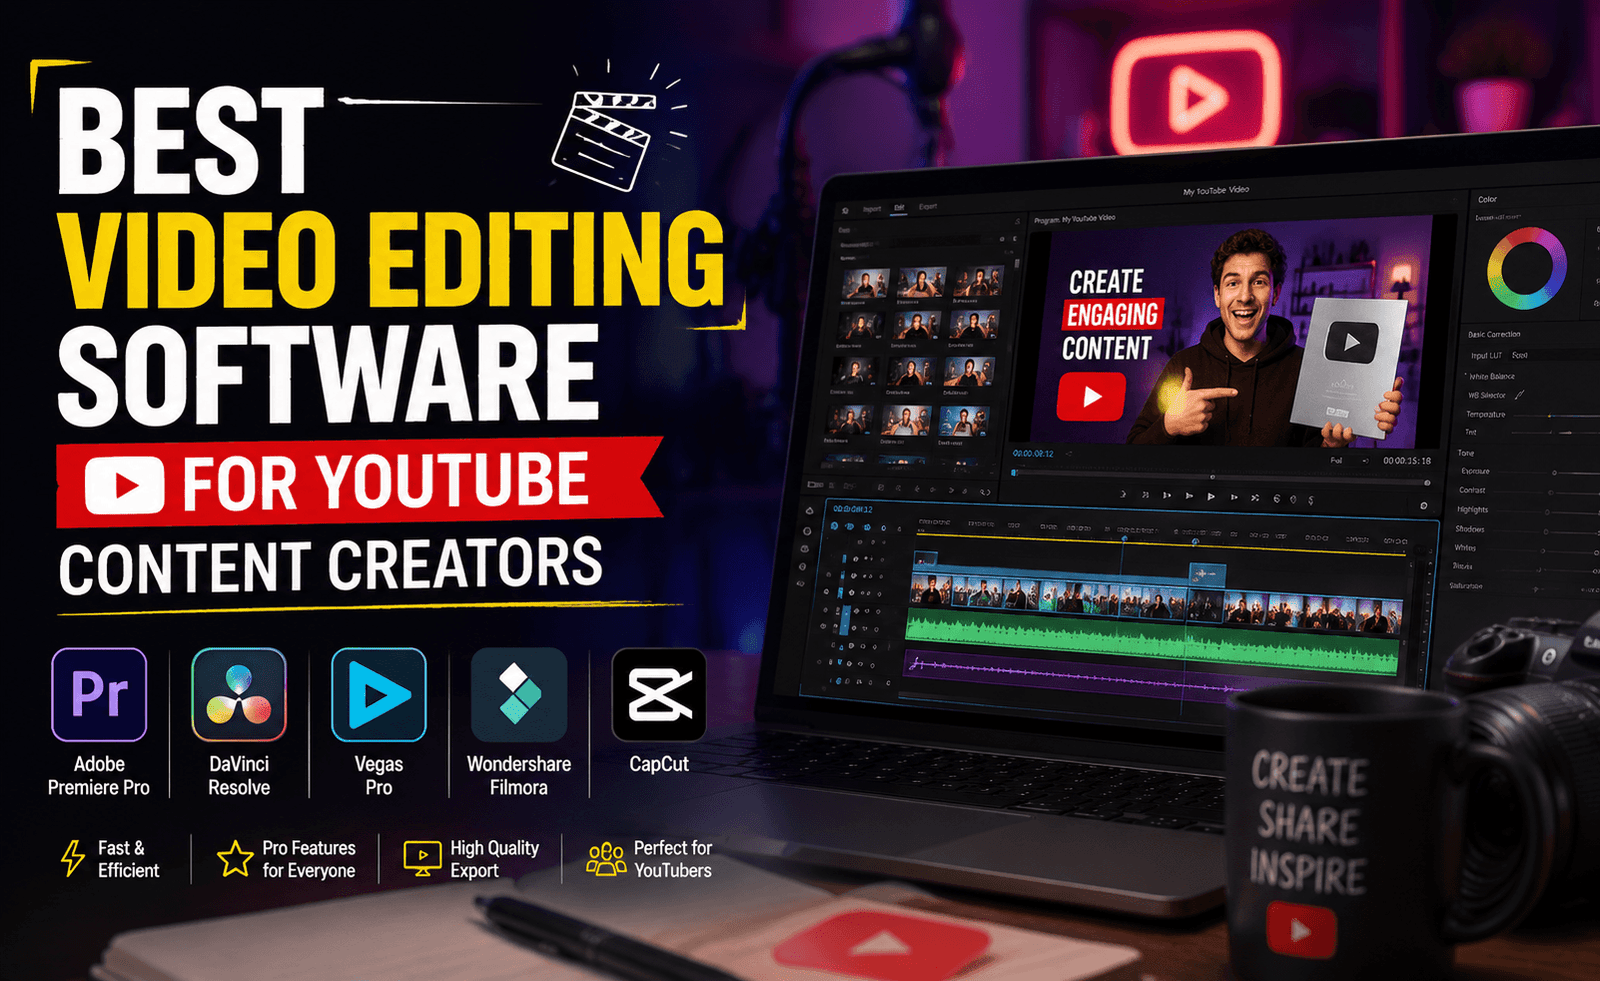
Adobe Premiere Pro
Premiere Pro remains a favorite among established YouTube creators, largely due to its flexibility and deep integration with After Effects for intros, lower thirds, and motion graphics. Its multi-cam editing tools handle podcast-style and interview content smoothly, and the Essential Sound panel makes quick audio cleanup painless. The subscription cost is worth it for creators who treat their channel as a business with recurring production needs.
DaVinci Resolve
For creators who want professional-grade color grading without a subscription, DaVinci Resolve’s free tier is remarkably capable. Many successful YouTubers, including several in the filmmaking and photography niches, edit their entire channel inside Resolve. The trade-off is a slightly steeper learning curve, particularly around navigating between its various pages for editing, color, and audio.
Final Cut Pro
Exclusive to macOS, Final Cut Pro is prized for its speed — its magnetic timeline and background rendering make it one of the fastest editors available for creators working on Apple hardware. Many high-output YouTube channels rely on Final Cut specifically because it can keep pace with aggressive upload schedules without bogging down the system during editing.
CapCut
Increasingly popular among newer creators, CapCut’s desktop version brings its mobile-first AI features — auto captions, background removal, and smart reframing — to a full editing timeline. It’s especially useful for creators who repurpose long-form YouTube videos into Shorts, since reframing and clipping tools are built directly into the workflow.
Filmorg / Wondershare Filmora
Filmora sits comfortably between beginner-friendly and semi-professional, offering a large library of templates, transitions, and effects alongside a genuinely approachable interface. It’s a strong choice for creators who want polished results quickly without investing significant time into learning a more complex program.
| Software | Best For | Platform | Standout Feature |
|---|---|---|---|
| Premiere Pro | Established creators, multi-cam podcasts | Windows/Mac | Deep Adobe ecosystem integration |
| DaVinci Resolve | Color-focused creators on a budget | Windows/Mac/Linux | Free, professional color grading |
| Final Cut Pro | High-output Mac-based creators | Mac only | Extremely fast rendering |
| CapCut | Long-form to Shorts repurposing | Windows/Mac | AI reframing & auto captions |
| Filmora | Beginners wanting polished results fast | Windows/Mac | Large template library |
Workflow Tips to Speed Up Your Editing
Regardless of which software you choose, a few workflow habits make a bigger difference than any single feature. Start by organizing your footage into clearly labeled folders before you even open your editor — sorting A-roll, B-roll, and audio separately saves significant time once you’re deep into a cut.
Use proxy files or lower-resolution preview settings if you’re working with 4K or higher footage on a less powerful machine. Editing in a lighter-weight preview resolution and switching to full quality only for final export can dramatically improve timeline responsiveness.
Take advantage of silence detection or jump-cut automation tools if your software offers them — many talking-head YouTube videos benefit enormously from removing dead air and filler words, and doing this manually is one of the most time-consuming parts of editing.
The software matters less than most creators think. Consistent habits — organized footage, templated project settings, and a repeatable export process — save more time than any single feature ever will.
Export Settings That Actually Matter
YouTube’s compression algorithm favors specific export settings, and getting these right preserves far more visual quality after upload. Most modern editors include a YouTube-specific export preset, which is generally a safe starting point — but a few principles are worth understanding regardless of software.
Export at a higher bitrate than you think you need; YouTube’s compression will reduce quality regardless, and starting from a stronger source file noticeably improves the final result. Keep your frame rate consistent with your original footage rather than converting it during export, since frame rate conversion can introduce subtle stutter or motion artifacts. And always preview your final export at actual size before uploading — issues that are invisible while scrubbing through a timeline sometimes become obvious on full playback.
Audio Gear and Software Pairing
Editing software can only do so much with a poor source recording, which is why many experienced YouTube creators invest as much thought into their audio pipeline as their video editor. A clean recording from a decent USB or XLR microphone gives noise reduction and leveling tools something solid to work with, whereas heavily compressed or noisy source audio tends to reveal artifacts no matter how capable the software’s cleanup tools are.
Most of the editors covered in this guide include reasonably capable built-in audio tools — noise reduction, de-essing, and automatic loudness normalization to keep volume consistent across a video or across an entire channel’s back catalog. For creators doing heavier audio work, such as narrated documentary-style content or podcast-to-video conversions, pairing your editor with a dedicated audio tool for the initial cleanup pass, then importing the finished track into your video timeline, often produces noticeably better results than relying entirely on in-editor audio tools.
Consistent audio levels across videos also matter for viewer retention. A channel where every video sounds dramatically different in volume or tone creates a subtly jarring experience for subscribers watching multiple videos in a row. Saving a standard audio export preset, including target loudness settings, ensures every upload sounds consistent regardless of how the raw recording came in.
Building a Repeatable Thumbnail Workflow
Thumbnails are arguably as important as the edit itself when it comes to a video’s performance, and building a repeatable process for creating them saves real time over a long publishing schedule. Many editors support frame-grabbing directly from the timeline, letting you pull a clean still from your footage at full resolution to use as a thumbnail base rather than needing to separately photograph or screenshot a moment.
Pairing your video editor with a photo editing tool for thumbnail text, color grading, and composition tends to produce more polished results than relying on in-editor text tools alone, which are usually designed for on-screen captions rather than the bold, high-contrast style that performs well as a thumbnail. Building a reusable thumbnail template — consistent fonts, color treatment, and layout — not only saves time on each individual video but also helps establish a recognizable visual identity for your channel over time.
Whatever process you land on, batching thumbnail creation alongside your editing session, rather than treating it as an afterthought once a video is already rendering, tends to produce noticeably better results and prevents thumbnails from becoming the rushed final step before a deadline.
Managing Storage and Project Backups
As a channel grows, raw footage accumulates faster than most creators expect, and storage management becomes a real workflow concern rather than an afterthought. Establishing a clear system early on — archiving finished projects to external or cloud storage, deleting redundant footage after a video is published, and keeping active projects on your fastest drive — prevents the slow performance and clutter that eventually catches up with anyone who lets footage pile up unmanaged.
Regular project backups matter just as much as footage storage. A corrupted project file the night before a scheduled upload is one of the more painful experiences a creator can have, and most editing software supports either automatic versioned saves or straightforward manual backup routines that take only a few extra minutes to set up properly.
Choosing Based on Your Channel’s Stage
Brand-new creators testing whether they’ll stick with YouTube long-term should lean toward free or low-cost options like DaVinci Resolve or CapCut — there’s little reason to commit to a subscription before establishing a consistent posting habit. Creators who’ve found their format and are posting regularly often benefit from Premiere Pro or Final Cut Pro’s speed and ecosystem integration, particularly once a channel grows to include sponsorships or more complex editing needs like motion graphics and multi-cam interviews.
Final Thoughts
There’s no single “correct” editing software for YouTube — the right choice depends on your platform, budget, content format, and how far along your channel is. What matters more than the specific program is building a consistent, efficient workflow around whichever tool you choose. Start with something approachable, get comfortable with its shortcuts and organization system, and only consider switching once you’ve genuinely outgrown its capabilities rather than chasing whatever software your favorite creator happens to be using this month.
About the Author